Set Up Tinder Account Easily & Get More Matches

Ready to jump into the world of Tinder? Getting your account set up is surprisingly quick—the whole thing, from finding the app to your first swipe, usually takes less than 10 minutes.
Getting Your Tinder Account Started
First things first, you'll need the app. Head over to the Apple App Store or Google Play Store, search for "Tinder," and hit download.
Once it's installed, open it up. Right away, you'll have to decide how you want to create your account.
You’ve got a few options here, and each has its pros and cons. Using your phone number is a popular route because it keeps your dating life completely separate from your other social media. If you're concerned about privacy, this is the way I’d recommend going.
Of course, you can also sign up with your Google or Facebook account. It’s definitely faster since Tinder can pull your name and age automatically, saving you a few seconds of typing.
My Take: While linking Google or Facebook is convenient, I always suggest using your phone number. It creates a clean break between your social profiles and your dating profile, preventing any accidental data sharing and giving you full control from the get-go.
No matter which path you choose, this is the first step on a well-trodden path. Since it launched back in 2012, Tinder has become a global force, now available in over 190 countries. That incredible reach is why it’s racked up more than 530 million downloads, making it one of the biggest dating platforms out there. You can find more stats on Tinder's global reach at DatingZest.com.
Nailing this first step lets you move on to the fun part: building a profile that really shows people who you are.
Getting Your Account Set Up and Verified
Once you've picked how you want to sign up, you'll get to the main setup screen. This is where you punch in the basics: your name, birthday, and gender. Pretty standard stuff. But what comes next is what really makes or breaks your start on the app.

I'm talking about Photo Verification. Think of this as your digital passport on Tinder. Getting that little blue checkmark next to your name is a huge deal—it tells everyone else that you're the real deal. In a sea of potential catfish and fake profiles, that checkmark builds instant trust and can seriously boost your match rate.
Let's be real, profiles without verification get a lot of side-eye. Why would anyone swipe right if they aren't sure you're actually the person in the photos? It’s a small step that makes a massive difference.
How The Verification Process Works
To get that coveted blue check, Tinder will ask you to take a quick video selfie. It's not a big production; you just have to copy a simple pose they show you on screen.
The app then uses some slick tech—a mix of human review and facial recognition—to compare your video selfie to your profile pictures. It's a clever way to make sure you are who you say you are.
Don't skip this. Seriously, completing the photo verification is one of the single most effective things you can do when you set up your account. It takes maybe a minute but pays off big time by showing potential matches you're authentic.
The whole approval process is usually super fast, often just a few minutes. Once you get the green light, the blue checkmark pops up on your profile, and you're officially verified. You've just boosted your credibility and helped make Tinder a safer place for everyone.
With your info locked in and your account verified, you've built a solid foundation. Now you're ready to craft a profile that actually gets noticed. For a deeper dive into making the most of your new account, check out our complete Tinder getting started guide.
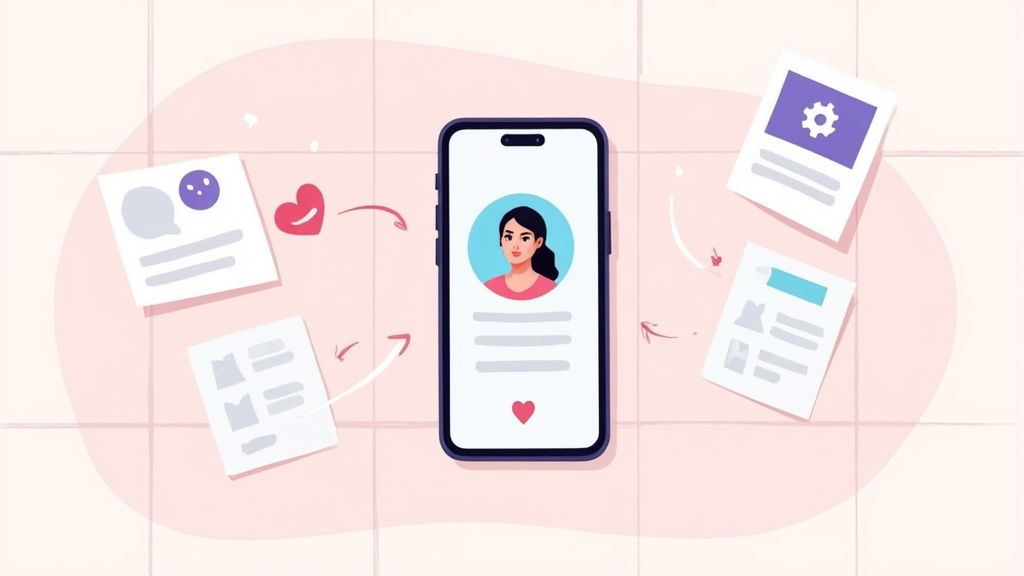
Crafting a Profile That Actually Stands Out
Okay, your account is live and verified. Now comes the fun part—making your profile an absolute magnet for the right kind of attention. This is where you graduate from simply having an account to creating a personal brand that people actually want to connect with.
Your photos and bio are your one-two punch for making a killer first impression. Let's get them right.
Selecting Photos That Tell a Story
Forget the endless gallery of selfies. Your photos should tell a story about who you are. The goal here is to create a visual narrative that shows off your personality, hobbies, and social life without you having to spell it out.
Think variety. A clear, smiling headshot should always be your first photo—it's your digital handshake. After that, mix things up.
- The Lifestyle Shot: A candid photo of you at a coffee shop, browsing a bookstore, or laughing with friends shows you in your natural element. It makes you look approachable.
- The Hobby Photo: Are you a hiker, a painter, or a musician? A picture of you doing what you genuinely love is an instant conversation starter.
- The Dressed-Up Photo: It doesn’t hurt to include one picture where you're looking sharp. It shows you clean up well and can be a great addition if someone's looking for a plus-one to a wedding.
To really make your profile shine, you can find some great tips for filtering picture-perfect social media images. Just remember, authenticity is king. Your photos should look like you on your best day, not like a completely different person.
Tinder Profile Photo Do's and Don'ts
Choosing the right photos can feel like a high-stakes game. This quick-reference guide will help you select the images most likely to get you that right swipe.
| Do | Don't |
|---|---|
| Use high-quality, clear photos | Post blurry or pixelated images |
| Show your face (no sunglasses!) in the first pic | Use group photos as your main picture |
| Include a full-body shot | Post only selfies, especially in the car or bathroom |
| Showcase your hobbies and interests | Use photos with an ex (even if cropped out) |
| Smile genuinely and look approachable | Hide your face or use overly edited filters |
| Include a mix of solo and social pictures | Post old, outdated photos |
Ultimately, you want your photos to be an honest and flattering preview of the person your matches will meet on a first date.
Writing a Bio That Sparks Conversation
Your bio is your chance to seal the deal. Please, avoid clichés like "I love to travel and laugh." Who doesn't? Instead, aim for something that practically begs for a response.
A great bio often follows a simple formula: one part sincere, one part witty, and a clear call to action. You could mention a quirky interest and then end with a question like, "Tell me the best concert you've ever been to." This gives potential matches an easy on-ramp to starting a real conversation.
Need some ideas to get the gears turning? We've put together a collection of standout example Tinder bios you can use for inspiration.
Your bio is a hook. Its main job isn't to tell your entire life story, but to make someone curious enough to send that first message. Keep it concise, engaging, and true to who you are.
Once your profile is set up, you'll want to dial in your discovery settings.
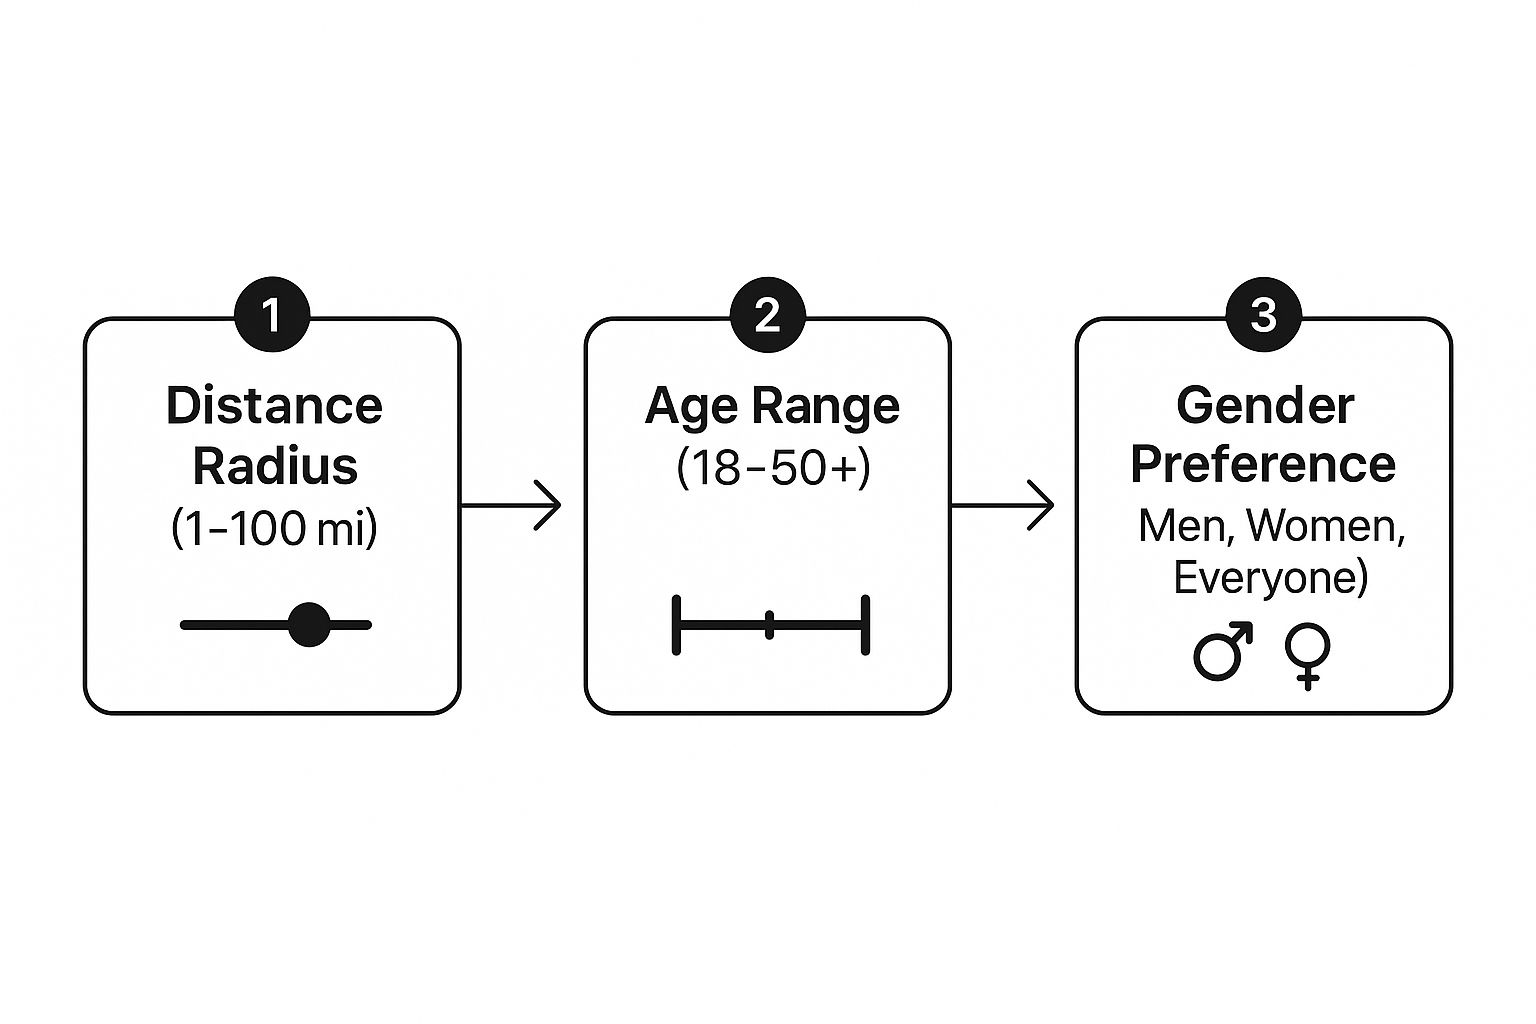
These simple filters—distance, age, and gender—are surprisingly powerful tools for refining who shows up in your feed. With users spending an average of 35 minutes a day on the app and making a staggering 1.6 billion swipes daily, a standout profile is the most important filter you have. By pairing compelling photos with an intriguing bio, you dramatically increase your odds of turning one of those endless swipes into a genuine connection.
Fine-Tuning Your Discovery Settings

Alright, your profile is looking sharp. Now it's time to tell the Tinder algorithm who you actually want to meet. This is where your Discovery settings come in—they're the controls that decide whose profiles pop up in your feed, so getting them right is a game-changer.
These settings are more powerful than you might think. Adjusting your preferred distance, age range, and gender directly impacts both the quality and quantity of your potential matches. Think of it as creating a personalized dating pool instead of just jumping into the deep end of the ocean. Dialing this in is a key part of setting up a Tinder account that actually works for you.
Setting Your Distance and Age Range
When it comes to your distance radius, it’s all about a strategic trade-off. You could set it to a wide range, like 50 miles or more, which will definitely show you more profiles. That’s a great move if you live somewhere less populated.
On the other hand, a tighter radius—say, under 10 miles—makes sure your matches are realistically close enough for a spontaneous coffee date. No one wants to match with someone great only to find out they live two hours away.
The same logic applies to the age range. A broad range shows you more people, sure, but narrowing it down to your ideal demographic filters out all the profiles you'd probably swipe left on anyway. It saves you time and, more importantly, helps the algorithm learn your preferences much faster.
Don't be afraid to experiment a little. Your ideal settings might change depending on where you are or what you're looking for at the moment. The goal is to find that sweet spot that shows you enough new people without flooding your feed with profiles that just aren't a fit.
For anyone who wants to become a true pro, there's a lot more to explore. You can dive into every single option in this detailed guide where the Tinder settings are explained from top to bottom. Taking a minute to fine-tune these controls helps you stop wasting swipes and start seeing people you’re genuinely excited to meet.
Getting to Know Tinder’s Features and Upgrades
Alright, your account is live and your settings are good to go. Now for the fun part: swiping. But before you dive in, it pays to know what tools you have at your disposal.
The free version of Tinder gives you the core experience. You can swipe right to "like" someone, left to "pass," and you get a few Super Likes to throw at profiles that really catch your eye. Honestly, this is often more than enough to get you started and see who's out there.
Of course, Tinder is a business, and they heavily push their premium subscriptions: Plus, Gold, and Platinum. Each one unlocks more features, but the real question is whether they're actually worth the money when you're just trying to get your profile off the ground.
Plus, Gold, and Platinum: What Do You Get?
So, what exactly are you paying for? A subscription basically gives you shortcuts and extra intel. The main perks usually include:
- Unlimited Likes: The free version cuts you off after a certain number of right swipes. This lets you swipe to your heart's content.
- Rewind: Ever accidentally swipe left on someone who looked promising? This feature lets you take back your last swipe. It happens.
- See Who Likes You: This is the big one, especially for Gold and Platinum. You get a special feed showing you everyone who has already swiped right on your profile.
These upgrades are designed to save you a ton of time and, in theory, boost your match count. And it works—for Tinder, at least. Their business model is built on these in-app purchases, pulling in a massive $1.91 billion in direct revenue in 2023. A huge chunk of that comes from people paying for these features to get an edge. If you're curious, you can find more detailed stats on Tinder's revenue at Statista.com.
My take? Give the free version a solid run for a week or two. Get a feel for it. If you find yourself constantly hitting the daily "like" limit or you're just dying of curiosity to see who's already liked you, then it might be time to consider an upgrade.
Ultimately, it comes down to your personal dating goals and your budget. Plenty of people find success on Tinder without ever spending a dime. Others swear by the premium features and see them as a necessary tool in their dating strategy.
Got Questions About Setting Up Tinder?
Even with a perfect walkthrough, a few questions always seem to pop up when you're getting a new Tinder account off the ground. It's completely normal. Let's run through some of the most common ones I hear so you can get swiping with confidence.
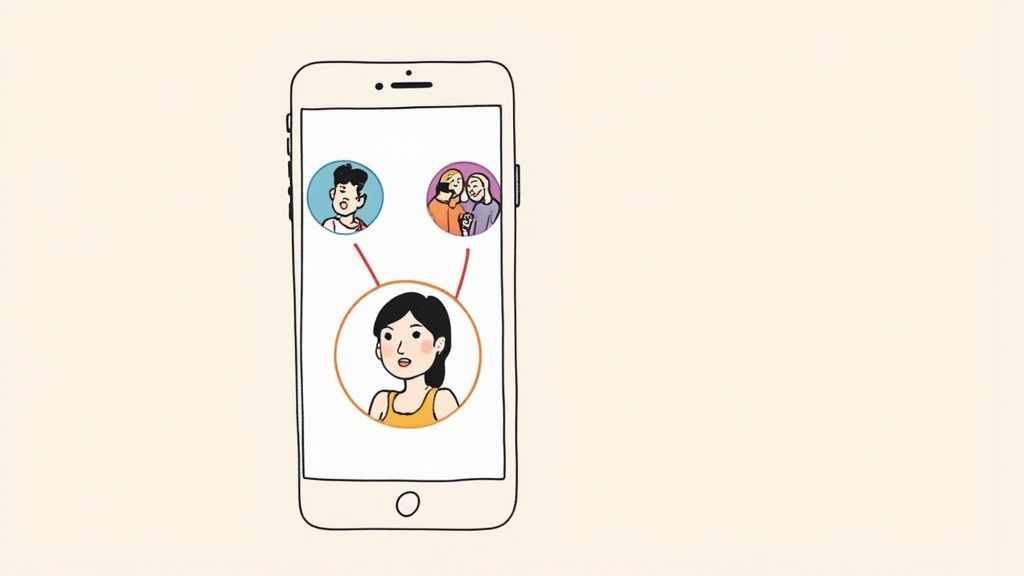
Can I Set Up Tinder Without a Phone Number?
This is a big one. While Tinder really pushes you to verify with a phone number—it's their main way of cutting down on fake profiles and bots—you can get around it. Your other options are to sign up using your Google or Facebook account.
This instantly links your profile to that social account, which is super fast for setup. The downside? If you're trying to keep your dating life totally separate from your other online accounts, this might not be the best move.
My Take: Using your phone number is still the most secure route, especially for account recovery if you ever get locked out. Social logins are convenient, but they tie your dating profile directly to that account. Choose what works best for your privacy comfort level.
How Long Does Photo Verification Take?
Another question I get all the time is about the photo verification wait. Good news: it's usually incredibly fast. The whole process, where you take a quick video selfie, is often done in just a couple of minutes.
If you find it's taking longer, the issue is almost always on your end. Check your internet connection, and make sure you're in a well-lit room so your face is crystal clear in the video.
Should I Reset My Account for a Fresh Start?
Ah, the classic "Tinder reset." It's tempting to think that deleting your profile and starting over will give you a clean slate and a visibility boost. And while it can work, it's a risky game.
Tinder's algorithm is smart, and it can sometimes spot users who do this too often, potentially penalizing your new account. A true reset might give you a short-term bump, but it's often way better to just focus on improving the profile you already have.
Seriously, a few new, high-quality photos and a rewritten bio can have the same (or better) effect. Making small, smart tweaks is a much more sustainable long-term play than hitting the reset button every few weeks.
Ready to stop wasting time and start getting more matches? Auto-Swiper automates the tedious parts of online dating, so you can focus on making real connections. Learn more and supercharge your dating game at Auto-Swiper.