Filters, swipe modes and swipe presets explained
Every filter Auto Swiper offers, what it does on each platform, and how swipe presets let you keep more than one strategy ready to go.
Auto Swiper with no filters is a machine that likes everyone. That has its uses, but it isn't why most people install it. The filters are where you turn "swipe faster" into "swipe better".
This is the full list, what each one does, and where the platforms differ.
First: pick a swipe mode
Before any filter matters, there's one choice at the top of the popup — how Auto Swiper decides at all.
- Use filters — like the profiles that pass your filters. This is the normal mode.
- Random — pass a share of profiles at random and like the rest. Your filters are switched off entirely in this mode, and the interface says so. It's for building volume, not for finding a particular kind of person.
- Force match (Pro and Ultimate, browser only) — pass one, like one, reload the page, repeat.
The important thing is that Random is not "filters plus some randomness". It replaces them. If you set careful filters and then wonder why you're liking everyone, check this setting first.
The filters
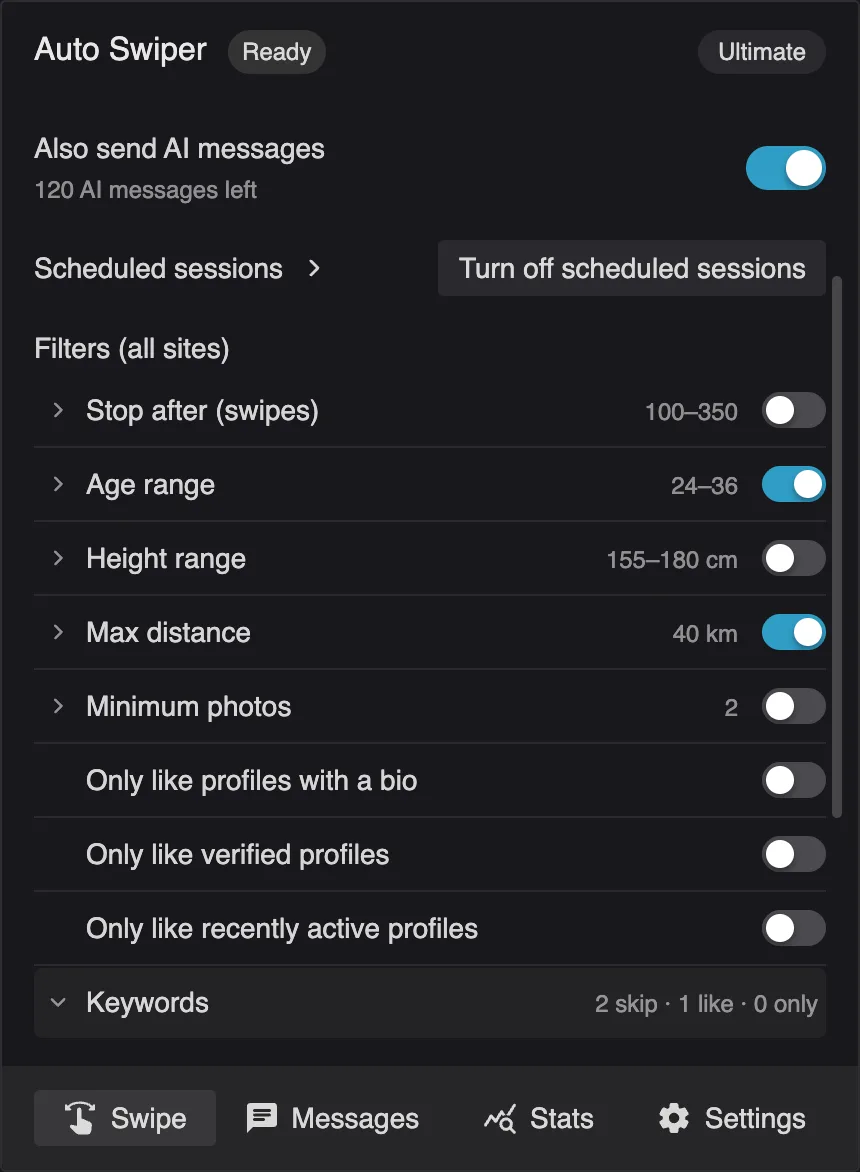
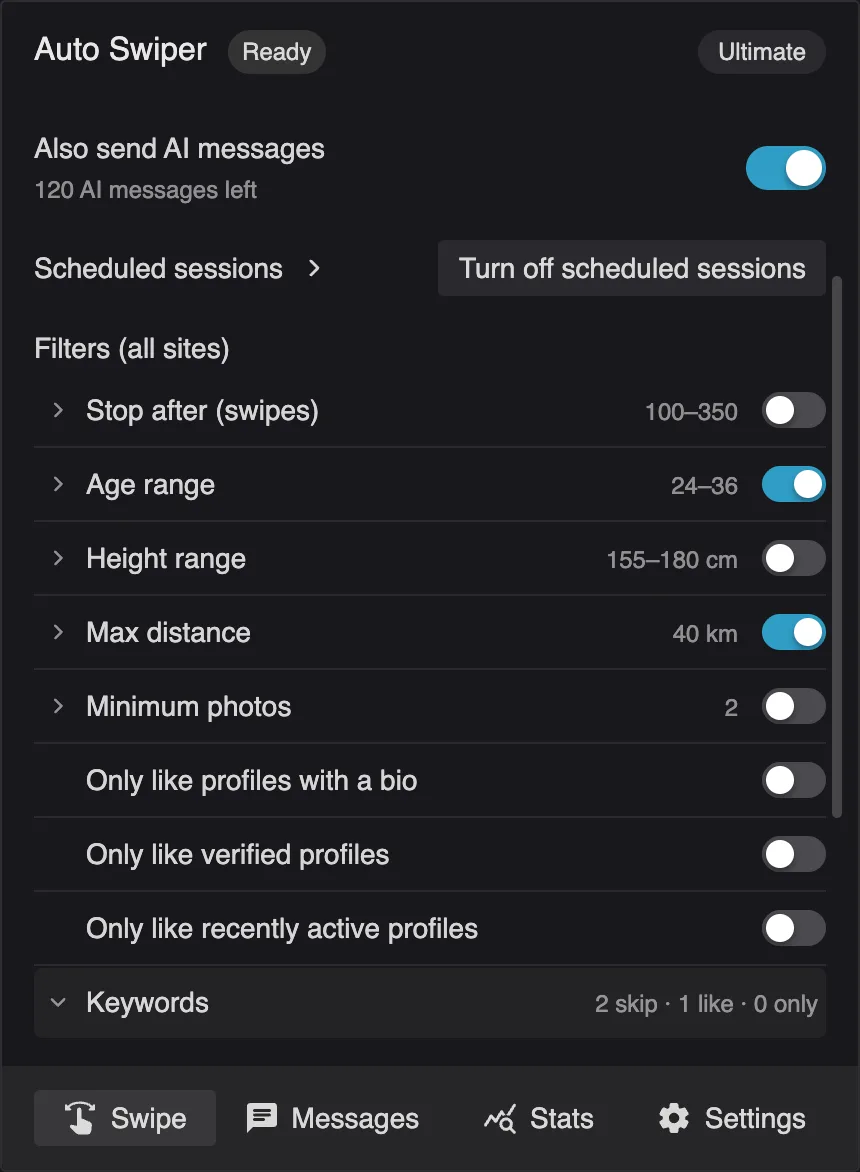
Age range. The basics. Note that this is Auto Swiper's own filter — it still helps to set the range on the dating site itself, so you're not throwing away half the deck after downloading it.
Max distance. Up to 200 km by default. Allow up to 2,500 km (Pro and Ultimate) raises the ceiling for anyone searching across a country or planning a move.
Keep profiles that hide their distance. Some profiles don't publish a distance. This decides whether those count as a pass or stay in the running. The name is worth reading carefully — turning it on keeps them.
Height range, with Keep profiles that hide their height working the same way. Android only, since the browser platforms rarely expose it.
Minimum photos. Skip profiles with fewer than N pictures. Browser only. A good low-effort filter, since a one-photo profile usually means a one-photo level of interest.
Only like profiles with a bio. Skips empty profiles outright.
Stop after. Not a filter exactly, but it lives with them: end the session after N swipes. It can be switched off completely if you'd rather run until the deck is empty.
Keywords. Three lists that decide based on what a profile says. These are the ones that actually change your results, and they get their own section below.
The three keyword lists
- Skip if profile mentions — any match passes the profile. Available on every plan.
- Always like if profile mentions — any match likes it immediately. Paid plans.
- Only like if profile mentions one of — the profile must mention at least one of these words to be liked at all. Paid plans.
They search the bio, the prompts, the job title and the interests — not just the bio.
Matching is case-insensitive and looks anywhere inside the text, so mus also finds "Museen" — and ass does find passion. When you want the whole word only, wrap the entry in slashes and use word boundaries: /\bass\b/. Slashes turn an entry into a regular expression, so /yoga|pilates/ matches either. Case-insensitivity is assumed unless you say otherwise.
How many words you can have depends on your plan: Free 10, Basic 20, Pro 50, Ultimate unlimited per list.
Two of these short-circuit everything else. A skip word passes the profile immediately; an always-like word likes it immediately, before age, distance or height are consulted. That's intentional — it lets one strong signal outrank the rest — but a broad always-like list will happily like people far outside your other filters. Keep that list short and specific.
Only like if profile mentions one of needs one of your words, not all of them. Since 4.0 that's true on Android too, where it used to require all of them and therefore almost never matched anything.
Before you trust a keyword list with a real session, run it through the free keyword tester. It takes a minute and it will surprise you at least once.
Swipe presets
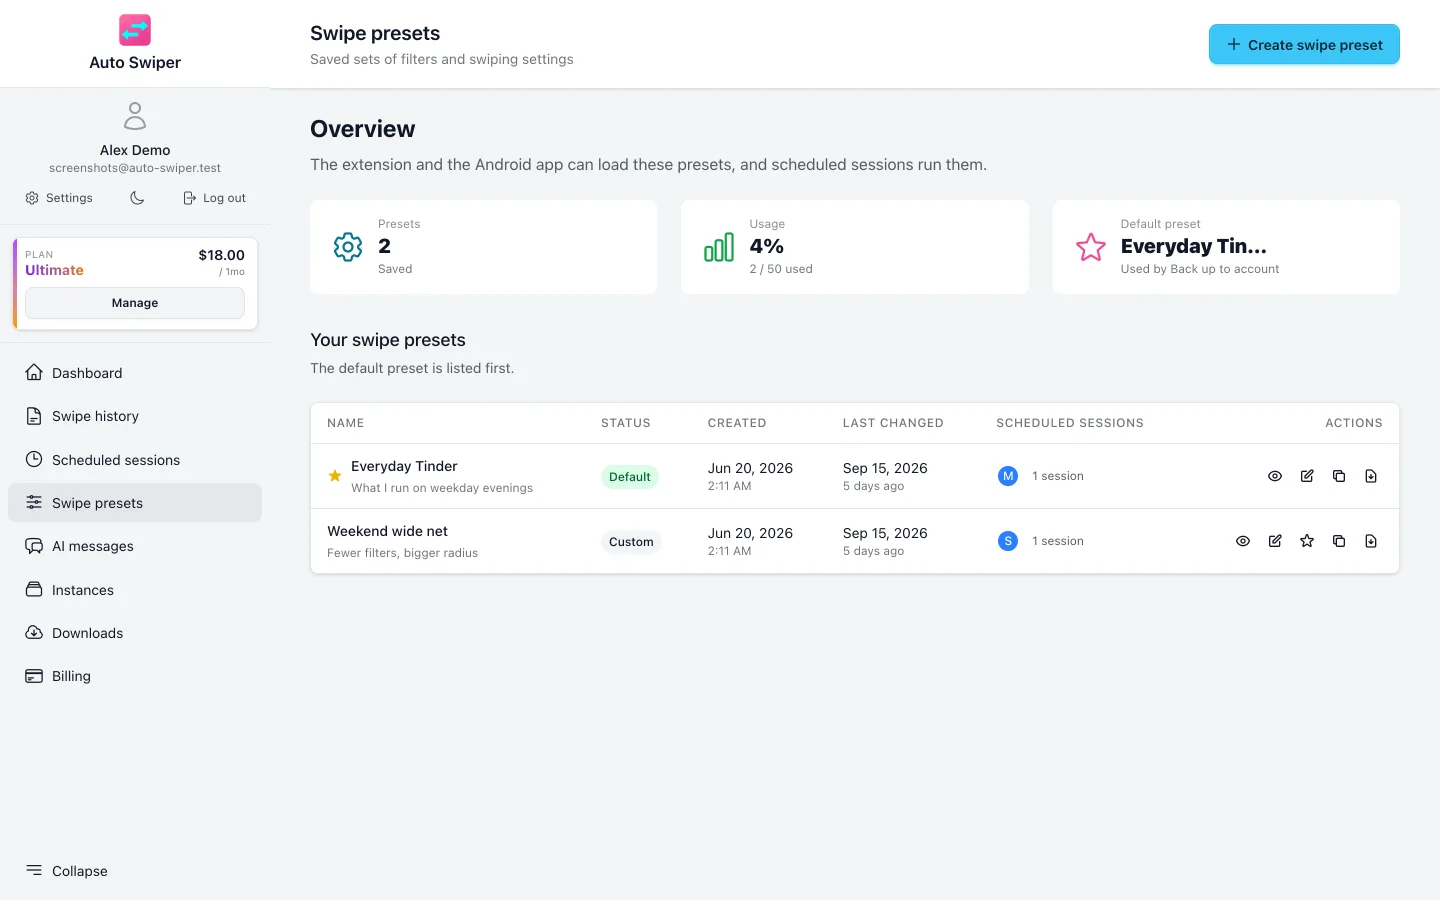
A preset is a saved set of filters and swiping settings, kept in your dashboard. You might have one for a careful search close to home and another for a wide, low-effort sweep while traveling.
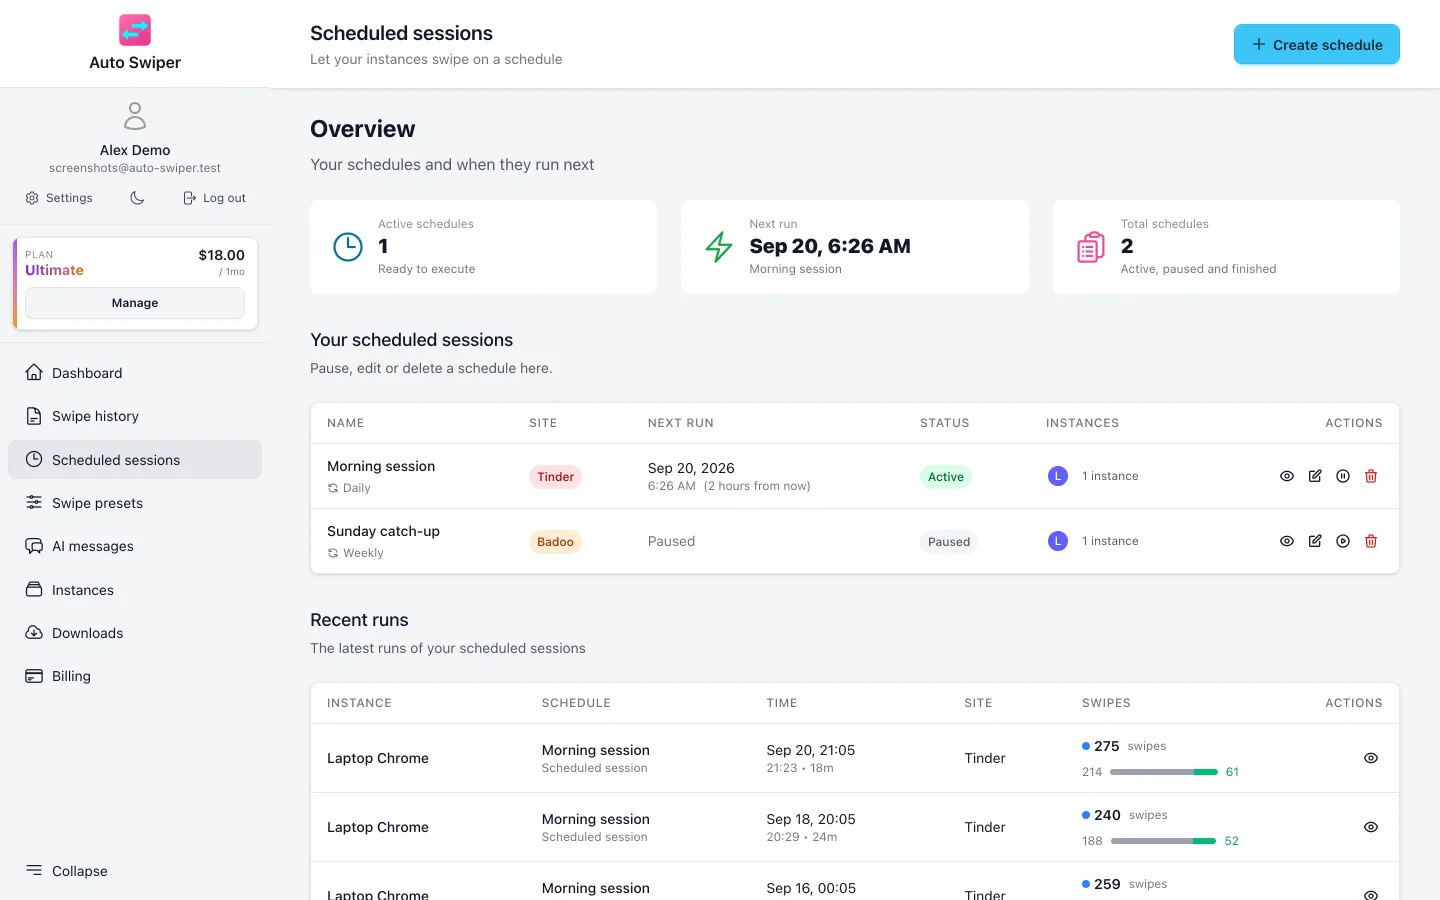
Presets matter most for scheduled sessions: each schedule carries a preset, so a morning run and a weekend run can behave completely differently without you touching a setting.
Your default preset is the one that syncs with the extension. Back up to account writes your current settings into it, and Restore from account pulls them back down — that's how you move a setup between computers, or recover it after a reinstall.
Where the platforms differ
Most filters behave identically in the browser and on Android, but not all:
| Filter | Browser | Android |
|---|---|---|
| Age, distance, keywords, bio required | Yes | Yes |
| Allow up to 2,500 km | Yes | Yes |
| Height range | — | Yes |
| Minimum photos | Yes | — |
| Force match | Yes | — |
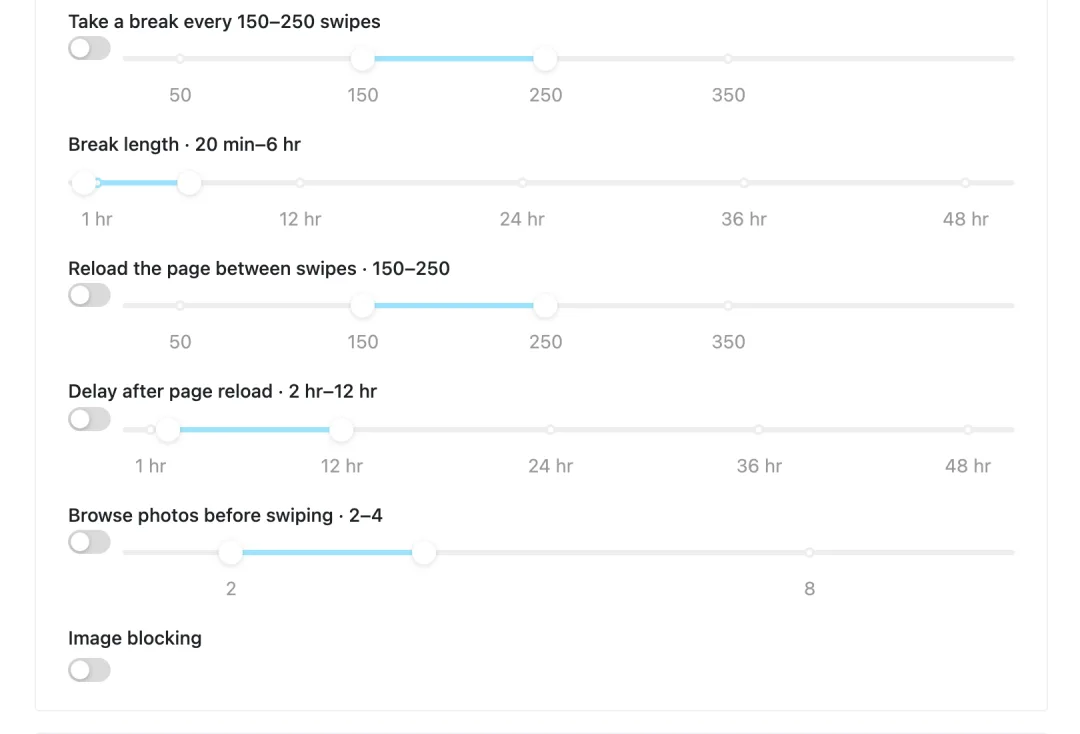
| Breaks, browse photos before swiping | Yes | — |
Where a site can't support a filter, the row stays visible and tells you — "Not used on PoF" — rather than disappearing and leaving you to wonder whether it applied.
A sensible starting setup
Start loose and tighten. A common mistake is a first configuration so strict that Auto Swiper passes on 95% of the deck, at which point you can't tell whether the filters are wrong or the deck is.
- Set age and distance, and nothing else. Run a session. See what the deck looks like.
- Add Skip if profile mentions with your genuine deal-breakers. This is the highest-value list by far.
- Only then consider Only like if profile mentions one of, and keep it broad at first.
- Use Always like sparingly — it overrides everything else.